HMAS Australia (1911)
Videos
Page
HMAS Australia was one of three Indefatigable-class battlecruisers built for the defence of the British Empire. Ordered by the Australian government in 1909, she was launched in 1911, and commissioned as flagship of the fledgling Royal Australian Navy (RAN) in 1913. Australia was the only capital ship ever to serve in the RAN.

HMAS Australia
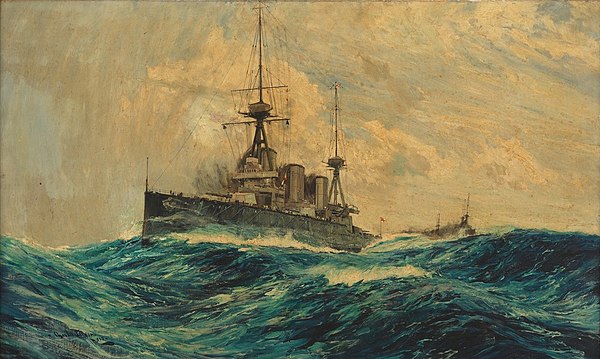
Australia in a 1913 painting by Charles Edward Dixon
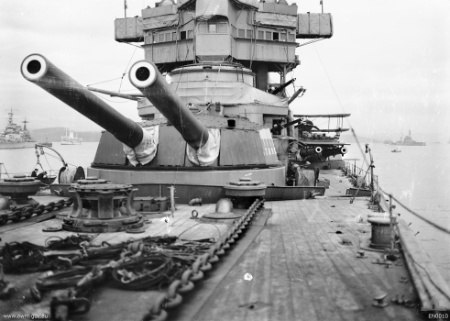
Australia's forward turret ('A') in 1918; note the port (i.e. left-side) wing turret in the background with a biplane on its roof
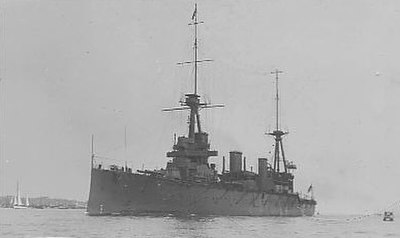
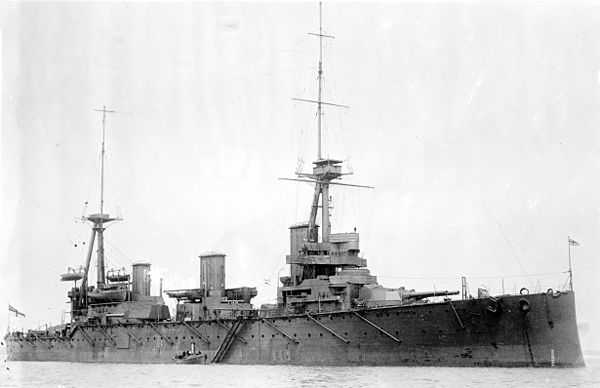
HMAS Australia on delivery in the UK in 1913
Indefatigable-class battlecruiser
Videos
Page
The Indefatigable class were the second class built of British battlecruisers which served in the Royal Navy and the Royal Australian Navy during World War I. The design represented a modest reworking of the preceding Invincible class, featuring increased endurance and an improved cross-deck arc of fire for their midships wing turrets achieved by a lengthening of the hull. Like its predecessor, the design resembled the contemporary dreadnought of the Royal Navy, but sacrificed armour protection and one turret from the main battery for a 4-knot speed advantage.
Australia in 1914
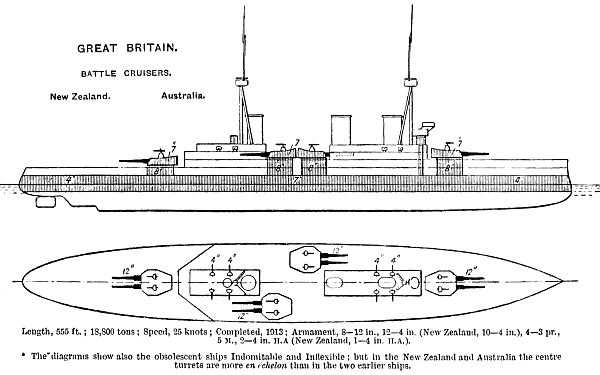
Right elevation and deck plan as depicted in Brassey's Naval Annual 1923 The layout depicted in this diagram is in reality that of the Invincible class. Armour thicknesses were those claimed by the Admiralty; actual thicknesses were in some places the same as claimed, but in many places less.
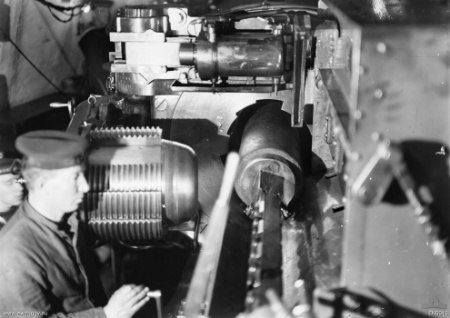
A 12-inch shell being rammed in HMAS Australia; note the interrupted screw of the breech
New Zealand at anchor, circa 1911–14