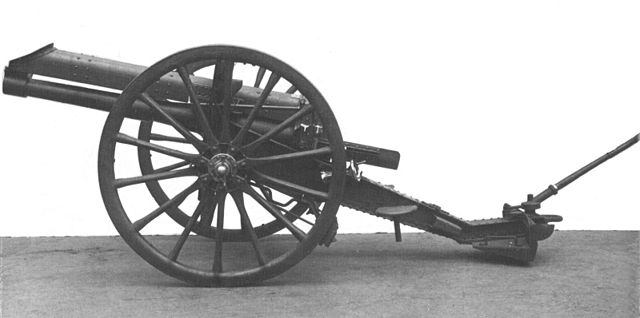
The Ordnance BLC 15-pounder gun was a modernised version of the obsolete BL 15-pounder 7 cwt gun, incorporating a recoil and recuperator mechanism above the barrel and a modified quicker-opening breech. It was developed to provide Territorial Force artillery brigades with a reasonably modern field gun without incurring the expense of equipping them with the newer 18-pounder. It is the gun that writers usually mean by "15-pounder gun" in World War I, but can be confused with the earlier Ordnance QF 15-pounder Ehrhardt or Ordnance BL 15-pounder, both of which fired the same shell.
BLC 15-pounder gun
Mks I, II & IV barrel design
Mk II & IV single-motion breech mechanism
Camel Battery of BLC 15-pounders after capture of Hatum, 5 January 1918
Glossary of British ordnance terms
This article explains terms used for the British Armed Forces' ordnance (weapons) and ammunition. The terms may have different meanings depending on its usage in another country's military.
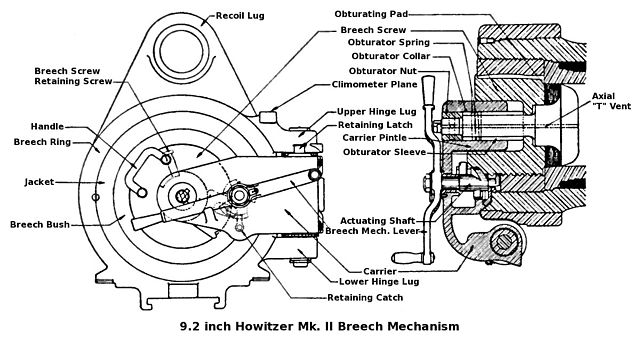
Breech mechanism of BL 9.2-inch howitzer Mk II, showing position of obturating pad at far right
2 C.R.H. BL 9.2-inch howitzer shell, 1916. See "18.4 R" pointing to curve of nose
3 C.R.H. QF 4.5-inch howitzer shell, 1916. See "13.5 R" pointing to curve of nose
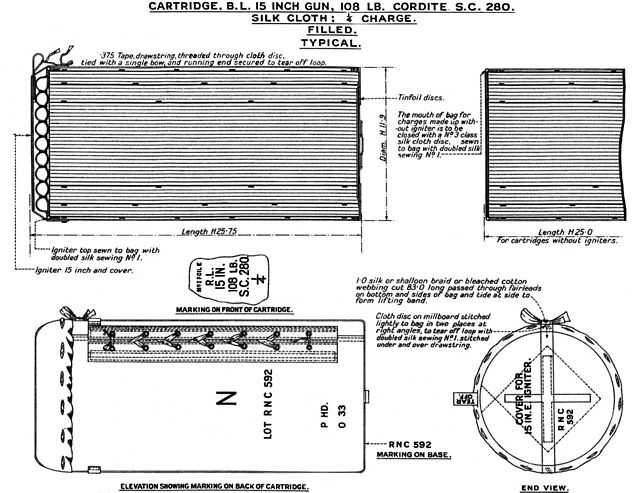
Cartridge in cloth bag consisting of 108 lb cordite SC 280 ¼ charge for BL 15-inch naval gun, WWII. Four of these cartridges were loaded together to make up the full service charge.