Edmund Herring
Videos
Lieutenant General Sir Edmund Francis Herring, was a senior Australian Army officer during the Second World War, Lieutenant Governor of Victoria, and Chief Justice of the Supreme Court of Victoria. A
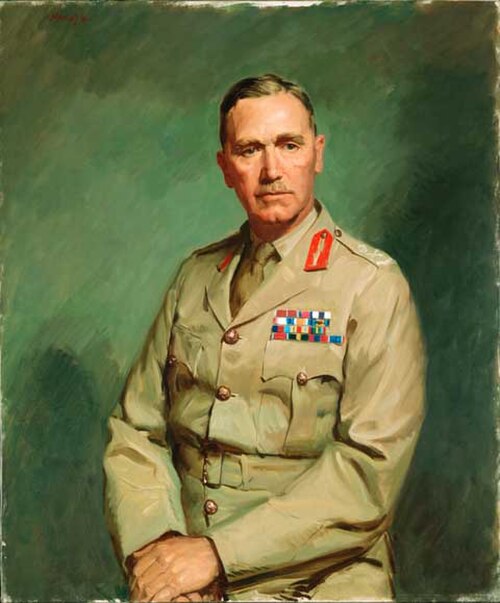
Portrait of Lieutenant General Sir Edmund Herring

25-pounder gun crew of the 2/1st Field Artillery Regiment at Bardia

Members of the 6th Division march past Major General Herring at Darwin during 1942

Herring (second from left) in Papua in October 1942 with General Douglas MacArthur (centre) and Major General Arthur Samuel Allen (right)
Thomas Blamey
Videos
Field Marshal Sir Thomas Albert Blamey was an Australian general of the First and Second World Wars. He is the only Australian to attain the rank of field marshal.
Formal portrait, c. 1942


Group portrait of 1st Division staff officers at Mena Camp, December 1914. Blamey, then a major, is in the front row, second from the right.

1st Division Headquarters at Anzac, 3 May 1915. Blamey is in the right foreground with his back to the camera. The position was exposed to shrapnel fire and Major John Gellibrand was wounded there.

Blamey in Belgium, March 1919