The Wellington Mounted Rifles Regiment was a mounted infantry regiment from New Zealand, raised for service during the First World War. It was assigned to the New Zealand Mounted Rifles Brigade, part

Wellington Mounted Rifles Regiment at Awapuni Racecourse 8 August 1914
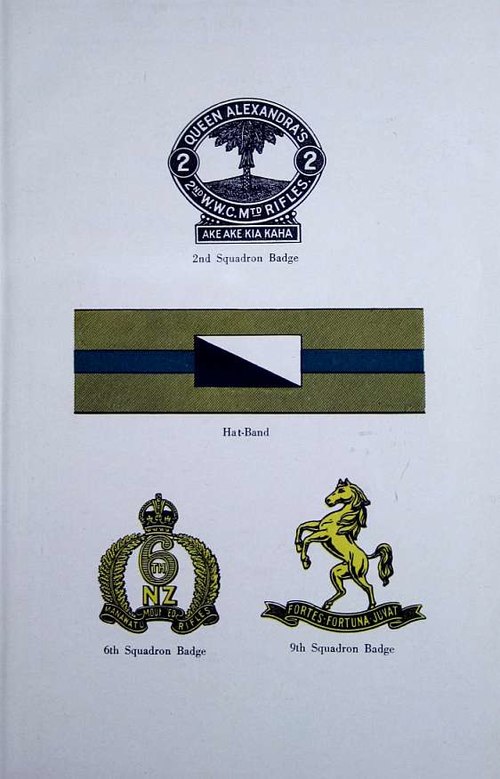
2nd Squadron Badge, Regiment Hat-Band, 6th Squadron Badge, 9th Squadron Badge

Some of the regiment's survivors after the Battle of Chunuk Bair

Big Table Top; the route the regiment used to climb the cliff is shown by the dotted line.
The New Zealand Mounted Rifles Brigade was a brigade of the New Zealand Army during the First World War. Raised in 1914 as part of the New Zealand Expeditionary Force, which made up 22% of the whole f
Wellington Mounted Rifles Regiment
…Wellington Mounted Rifles Regiment was a mounted infantry regiment from New Zealand, raised for service during the First World War. It was assigned to the New Zealand Mounted Rifles Brigade, part of the New Zealand Expeditionary Force. The regiment, with an establishment of twenty-six officers, 523 other ranks and 600 horses, was formed…

New Zealand Army Mounted Rifles marching through Cairo, Egypt in December 1914.

New Zealand Trooper, horse and equipment

No. 3 Post with Chunuk Bair on the skyline