Multiview orthographic projection
In technical drawing and computer graphics, a multiview projection is a technique of illustration by which a standardized series of orthographic two-dimensional pictures are constructed to represent the form of a three-dimensional object. Up to six pictures of an object are produced, with each projection plane parallel to one of the coordinate axes of the object. The views are positioned relative to each other according to either of two schemes: first-angle or third-angle projection. In each, the appearances of views may be thought of as being projected onto planes that form a six-sided box around the object. Although six different sides can be drawn, usually three views of a drawing give enough information to make a three-dimensional object.
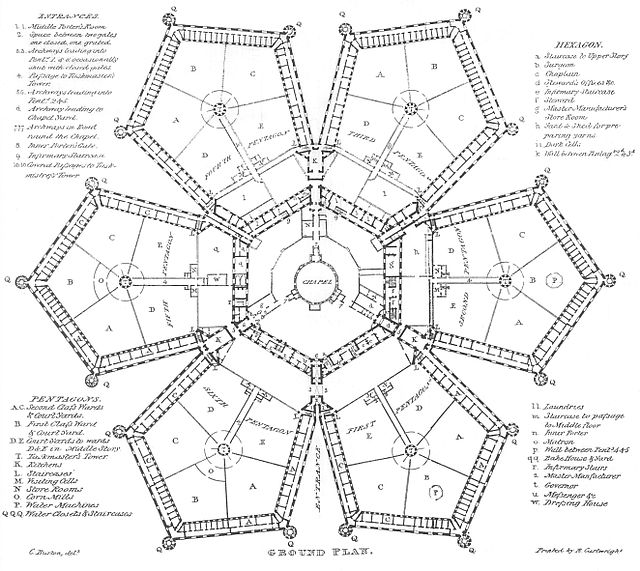
A plan view of Millbank Prison, 1828
Cutaway of a Porsche 996
Section view in architectural design
Technical drawing, drafting or drawing, is the act and discipline of composing drawings that visually communicate how something functions or is constructed.
Drafter at work
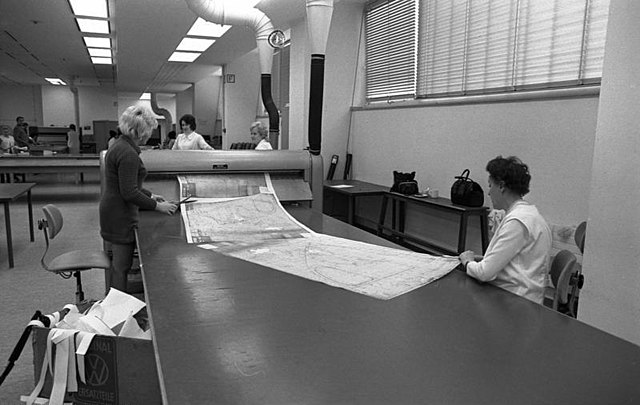
Copying technical drawings in 1973
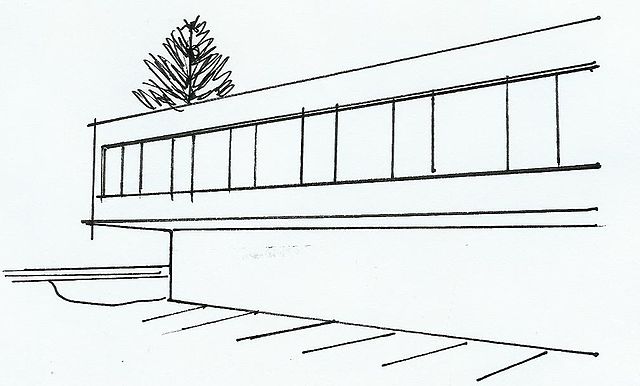
Sketch for a government building
A drafting table