Pymmes Brook
Videos
Page
Pymmes Brook is located in North London and named after William Pymme, a local land owner. It is a minor tributary of the River Lea. The brook mostly flows through urban areas and is particularly prone to flooding in its lower reaches. To alleviate the problem the brook has been culverted in many areas. Part of it is a Site of Borough Importance for Nature Conservation, Grade II.
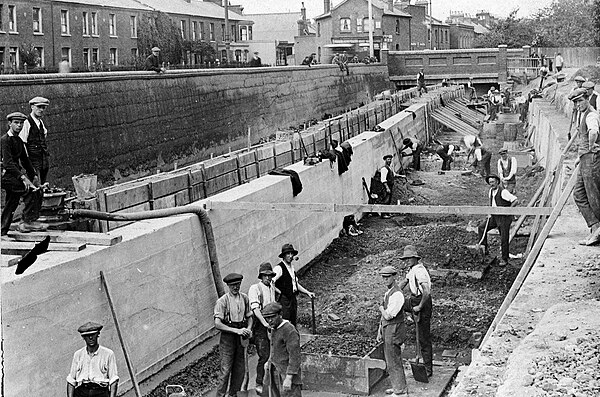
Pymmes Brook Canal Construction Angel Road, Edmonton in 1921

Pymmes Brook from Cat Hill looking down Brookhill Road 1908

Pymmes Brook parallel to Crescent Road in 2021
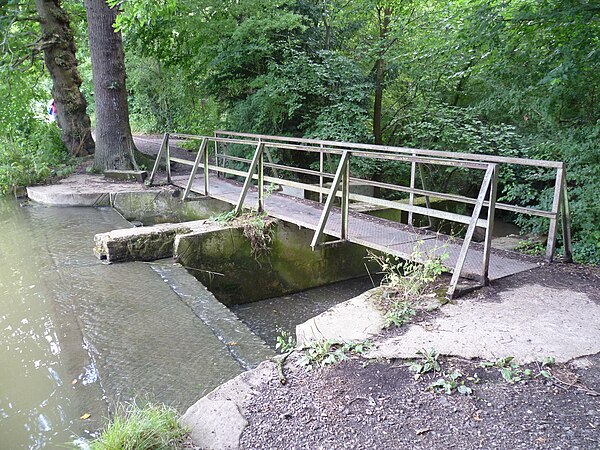
The weir at the south of Jack's Lake at Monken Hadley Common where Pymmes Brook was dammed.
Battle of Barnet
Videos
Page
The Battle of Barnet was a decisive engagement in the Wars of the Roses, a dynastic conflict of 15th-century England. The military action, along with the subsequent Battle of Tewkesbury, secured the throne for Edward IV.
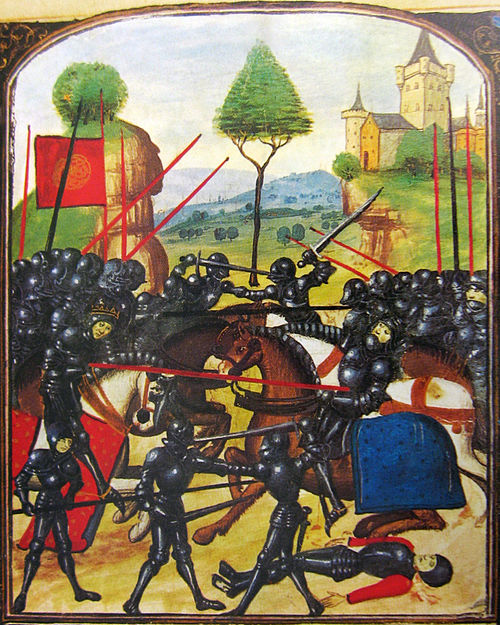
Late 15th-century artistic portrayal of the battle: Edward IV (left), wearing a circlet and mounted on a horse, leads the Yorkist charge and pierces the Earl of Warwick (right) with his lance; in reality, Warwick was not killed by Edward.

The Earl of Warwick prepares for the battle in this diorama at Warwick Castle.

Nobles in the Battle of Barnet wore composite field armour like this suit exhibited at the Royal Armouries Museum.
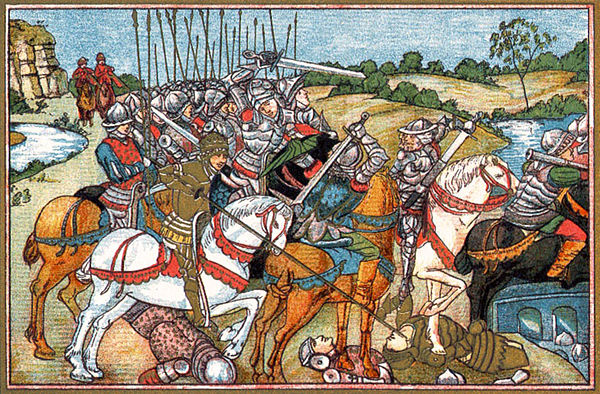
1885 lithograph portraying the rout of Warwick's forces in the manner of Paolo Uccello