Third attack on Anzac Cove
Videos
The third attack on Anzac Cove was an engagement during the Gallipoli Campaign of the First World War. The attack was conducted by the forces of the Ottoman Turkish Empire, against the forces of the B

Turkish troops going over the top in an assault on a British trench line in Anzac Cove

ANZAC beachhead, No. 2 Post in the north, Chatham's Post in the south. Turkish trenches are shown by the dotted line.

A typical ANZAC position; this is Steele's Post in May 1915
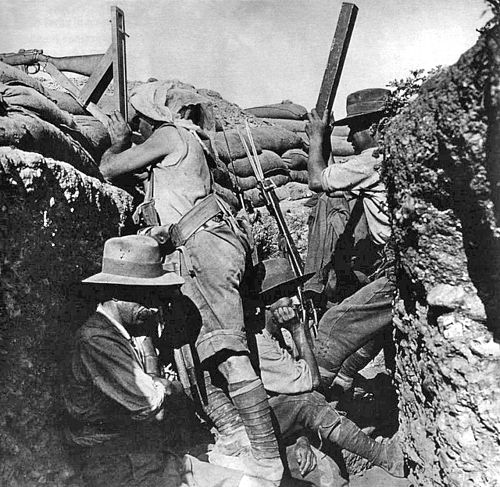
Australian troops in their trench, observing the Turkish lines through periscopes, one fixed to a rifle
Gallipoli campaign
Videos
The Gallipoli campaign, the Dardanelles campaign, the Defence of Gallipoli or the Battle of Gallipoli was a military campaign in the First World War on the Gallipoli Peninsula from 19 February 1915 to
Third attack on Anzac Cove
…The third attack on Anzac Cove (19 May 1915) was an engagement during the Gallipoli Campaign of the First World War. The attack was conducted by the forces of the Ottoman Turkish Empire, against the forces of the British Empire defending the…

A collection of photographs from the campaign. From top and left to right: Ottoman commanders including Mustafa Kemal (fourth from left); Entente warships; V Beach from the deck of SS River Clyde; Ottoman soldiers in a trench; and Allied positions

Winston Churchill between Talaat Bey and Cavid Bey (both wearing fezzes) during his private stay in Istanbul in July 1910

Panoramic view of the Entente fleet in the Dardanelles

French troops land at Lemnos, 1915.